CREAT3D handy 3D printing tips: Finishing your 3D prints5 June 2014 | Sabina Gonzalez-George  3D printing in PLA and ABS on desktop 3D printers allow for personalisation and customisation of the finished printed parts. Here’s a short guide to finishing your prints.
Sanding If your printed part is the perfect colour, then you can always simply sand away any rough edges or loose pieces. We would suggest starting with coarse sandpaper, followed by a fine wet & dry sandpaper to further smooth. You can also use small differently shaped files to reach into corners and smaller spaces.
It is worth bearing in mind that sometimes, particularly when sanding darker colours, you may get some discolouration where you have sanded, so it might be worth trying on a sample piece first to see the effect.
Painting PLA and ABS filaments are easily painted or spray-painted. The best finish tends to be from using acrylic paints.
If you are painting the entire object (or the majority of it), it might be useful to prime the part prior to painting to get a smoother finish, truer overall colour and longer lasting colour. You can use a paint primer or a paint adhesion promoter, for example from Halfords or 3M.
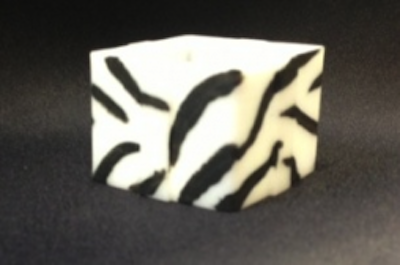
However, priming isn’t always necessary. We painted our zebra inspired pattern directly onto the white surface of the 3D printed box using black acrylic paint and a fine brush (excuse the lack of artistic skills displayed!).
Painting with acrylic paints onto the finished part is a smooth and easy process. It’s often best to work up the layers of colour by applying a thin coat of paint to start, then further coats once dry, to build up to the finished look rather than bulk loading paint.
| |
