Using 3D Scanning in combination with Additive Manufacturing
For Restoration & Repair
Monday 21st April 2025
Restoration is about reviving function and form, and on occasions, depending on the project, preserving history!
Whether it's a building, classic car, replica item, costumes, pieces of art, intricate decoration or an object of fascination, the challenge lies in accurately replicating details that may be damaged, worn, or entirely missing.
Traditional methods often involve painstaking manual measurements, sculpting by hand or machining, processes that are not only time-consuming but also costly.
That’s where the combined power of 3D scanning and Additive Manufacturing comes in; a precise, time-efficient and low cost solution for restoration and reconstruction
3D scanning allows for the high-resolution capture of an object’s exact geometry, even when part of the original is missing, or the drawings or CAD data no longer exist. It’s a practical alternative, especially in cases where CAD data isn’t feasible to recreate.
When paired with Additive Manufacturing, these scans can be used to reproduce parts or features with incredible fidelity, restoring objects to their original condition faster and more cost-effectively.
Our project: restoring beaded moulding
Our team used the tools at our disposal!
A small section of the delicate beaded moulding on our fireplace in our CREAT3D boardroom was broken and missing, so we decided to use our tools to reconstruct and repair the fireplace.
We used a 3D scanner as a practical solution to generating the design ready for 3D printing.
- Practical and fast solution – the geometry of the moulding was too complex, curved and non-uniform to draw directly in CAD.
- Fast solutions – scanning was far more time efficient – it took just a few minutes to capture the data and edit it ready for 3D printing.
Our tools
Our step-by-step process
1. Assess the object:
Checked the size, colour, and condition of the object to be scanned. We had complete sections of the moulding available that we could scan. The surface was not reflective or exposed to direct light, so no need apply additional pre-scan sprays or powders.
2. Apply scan target markers:
Applied target markers on the object to help the scanner align and merge multiple scan angles accurately. Markers must be placed randomly and not in a pattern, to make it easier for the software to accurately merge scans.
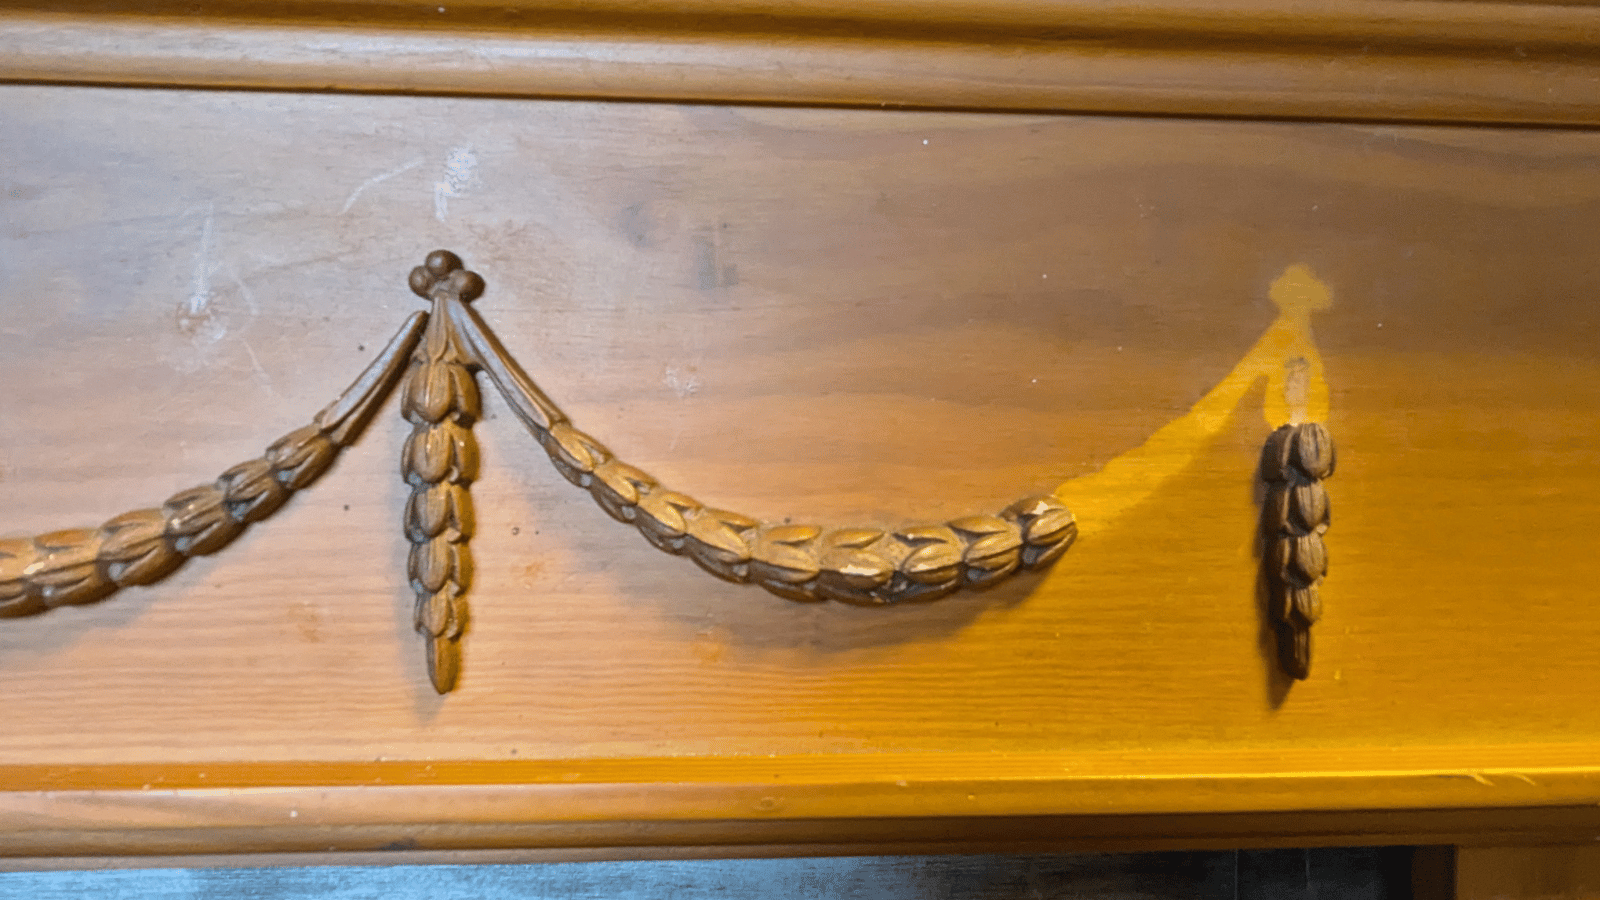
Missing/damaged beaded moulding
Peel 3 handheld 3D scanner
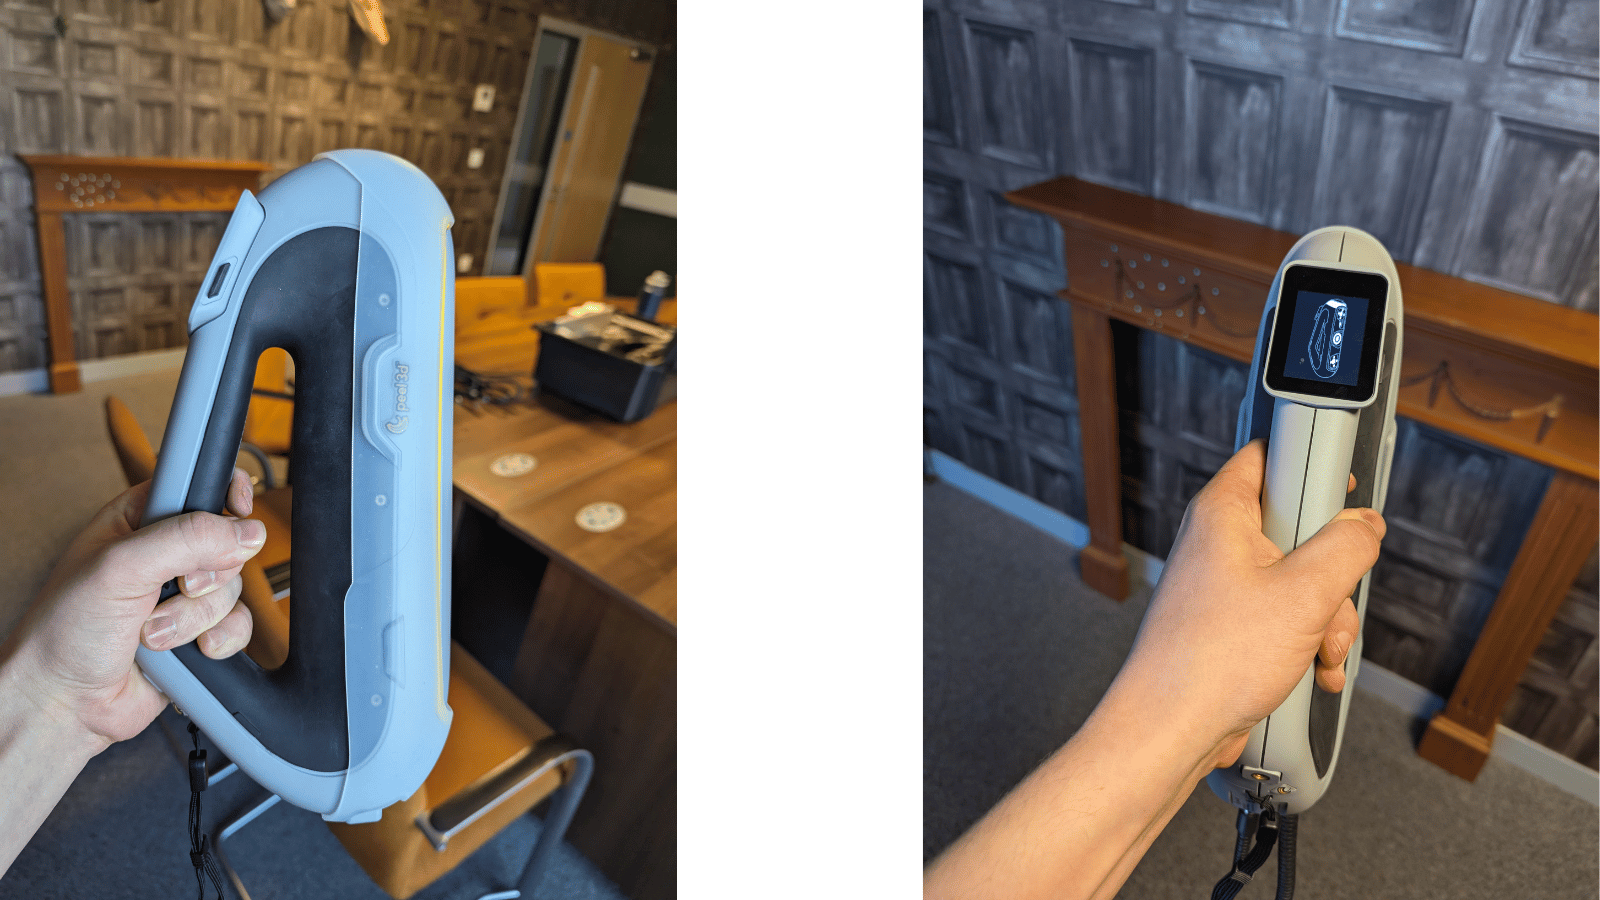
3. Scanning the complete section:
Captured multiple scans from different angles to gain maximum scan data. Once completed, the scans were merged into a single, complete mesh.
4. Edit and export the mesh:
Imported the scan data into Peel CAD software. Repaired, smoothed and filled any holes in the mesh using the in-built software tools to generate a clean model. Final edits then completed in Meshmixer, cutting to size, removing any superfluous areas and smoothing rough edges. We sculpted the mesh to fit seamlessly with the existing moulding.
5. Export as STL:
Exported the finalised model as an STL file for 3D printing
6. Prepare for printing:
Opened the STL in PreForm (Formlabs printer software) to prepare orientation and material selection for 3D printing using the Formlabs Fuse 1+ 30W printer and SLS system. Part was printed in Nylon 12.
7. Post-Processing:
Cleaned the printed part using the Formlabs Fuse Sift for initial de-powdering, before finishing in the Formlabs Fuse Blast to remove any remaining powder and polish the part.
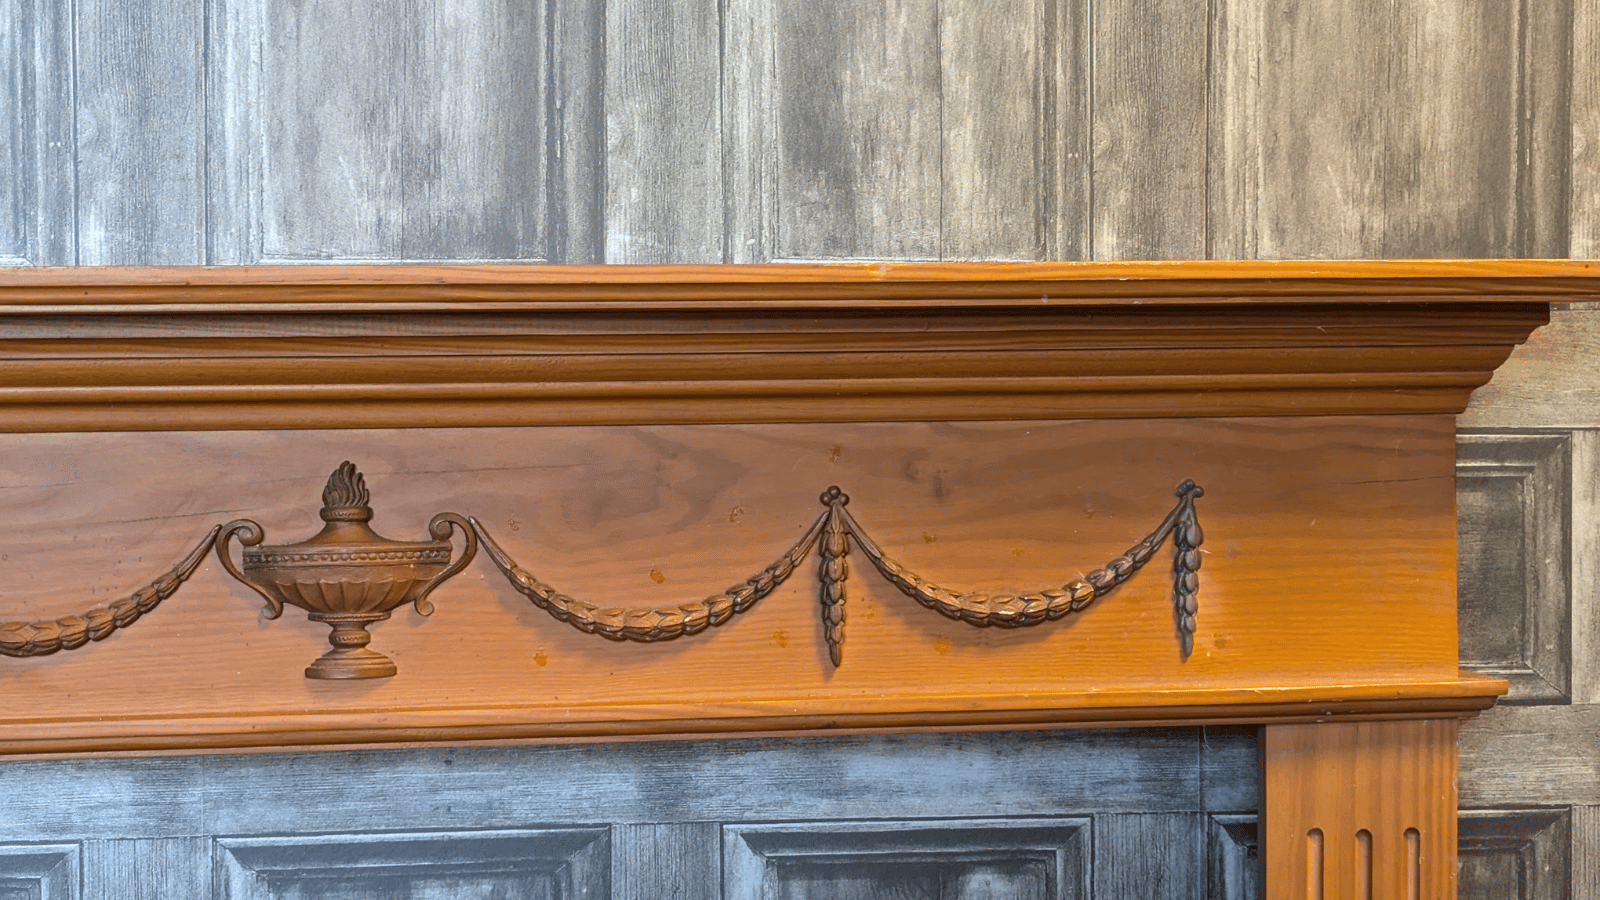
Restored beaded moulding
8. Finishing Touches:
Painted the part to match the existing surface.
9. Final Installation:
Installed the finished part in place, applying wood glue thus completing the restoration process.
Save time and money using 3D scanning with AM for restoration and repair
For anyone involved in repair, restoration or the creative industries, the combination of 3D scanning and Additive Manufacturing is a problem-solving tool. Whether it's overcoming challenges such as finding skilled labour, replicating intricate details, working without original drawings or sourcing discontinued or unavailable parts.
This approach not only reduces costs and lead times, but also ensures a precise, exact fit every time. Instead of relying on slow, expensive, and sometimes impossible-to-source replacements, you can now create components and parts on demand.
It’s a faster, smarter way to breathe new life into valuable objects, machinery, artworks, history and equipment - preserving integrity while saving time, money, and effort.
For more information about 3D scanning and Additive Manufacturing, view our range of scanners or contact us for advice on your application.