Silicone 3D Printing: What Works, What Doesn’t, and Where It Shines
Tuesday 9th December 2025
Whether operating in packaging, warehousing, robotics or general manufacturing, engineers constantly search for ways to create better seals, grippers, connectors, dampeners, and soft-contact components. Silicone is often the go-to material: flexible, durable, chemically resistant and ideal for everything from gaskets to bespoke suction cups. Typically though, to keep costs low, off-the-shelf standard silicone components will be used and made to fit the application, even if they don’t quite perform. Creating moulds or bespoke silicone parts is usually a no-go due to time, restrictions on minimum order quantities and high costs.
So here’s where Additive Manufacturing comes in. And yes - you can 3D print Silicone.
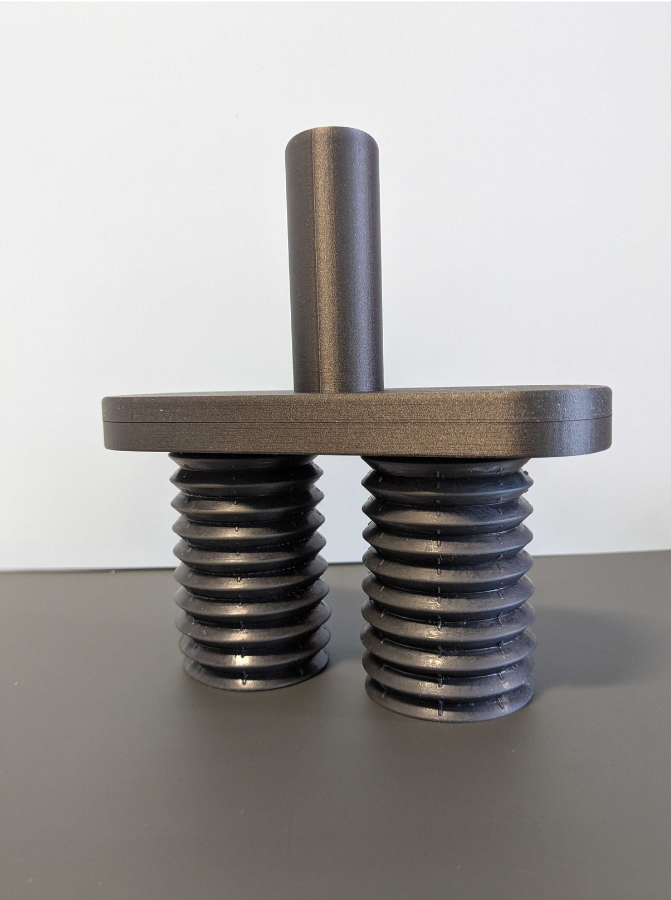
Using Formlabs’ Silicone 40A Resin on the Form 4, we explored what’s possible, what’s challenging, and when alternative workflows make more sense. We printed a range of parts typically used in manufacturing environments, including a custom suction cup for end-of-arm tooling (EOAT), to understand how silicone AM performs in the real world.
In this blog, we'll break down
- ✔️ What silicone printing is great for
- ⚠️ Where you’ll encounter limitations
- 🔄 Alternatives when printing silicone directly isn’t the best choice
- 💡 The “easy wins” — applications that deliver quick, practical value
What You Can Do With Silicone 3D Printed Parts
Silicone 40A unlocks a surprising amount of capability, especially in manufacturing where soft, compliant, and customisable components are essential.
Here’s a quick-look grid of our recommendations as to where to use AM for printing silicone parts:
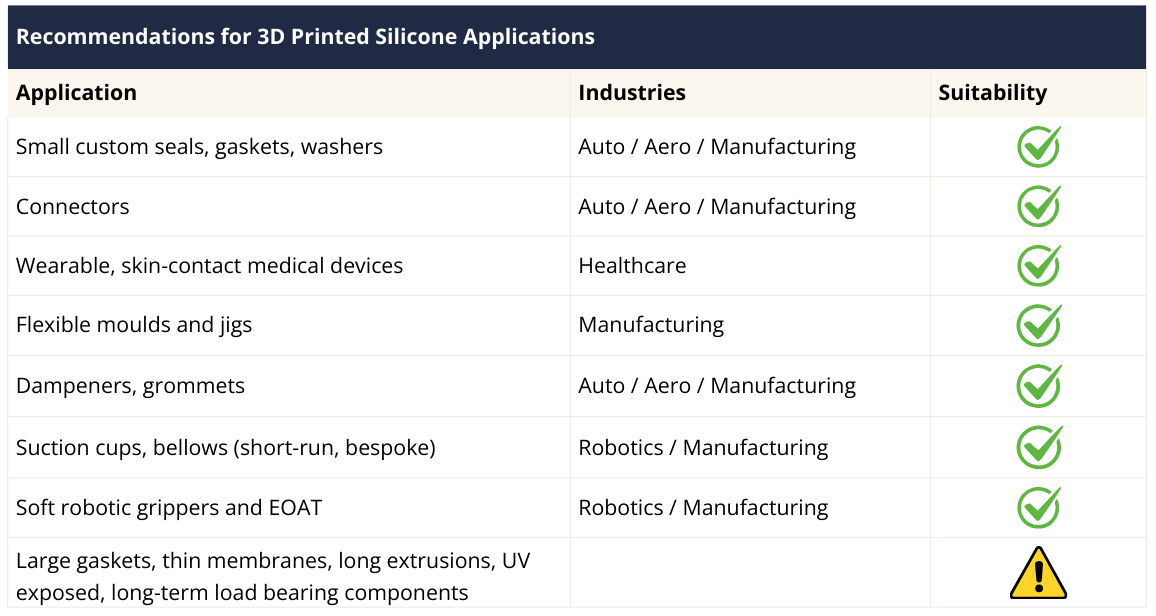
Silicone 40A performs particularly well when:
- Components benefit from compression rather than tensile strength
- You need short-run, customised designs
- The part can be printed directly on the build platform
- Surface finish and ultra-fine details are not critical
Real-World Examples of Silicone AM in Action
A number of companies are already using Silicone 40A to cut costs, speed up development and create geometry not possible with traditional moulding:
Dorman Products
Dorman Product manufactures aftermarket automotive components. They now print hundreds of bespoke gaskets and boots for ball joints. Previously using die-cutting at a cost of £200 and lead time of 2 weeks, Dorman Products now 3D print two gaskets in 3 hours for under £10.
Custom gaskets from Dorman Products 3D printed in Silicone 40A Resin. Courtesy of Formlabs.
HGM Automotive Electronics
HGM design and supply automotive electronic control systems. The company replaced £7,500 tooling with 3D printed connectors, printing 25 parts in 6 hours at £1 per part.
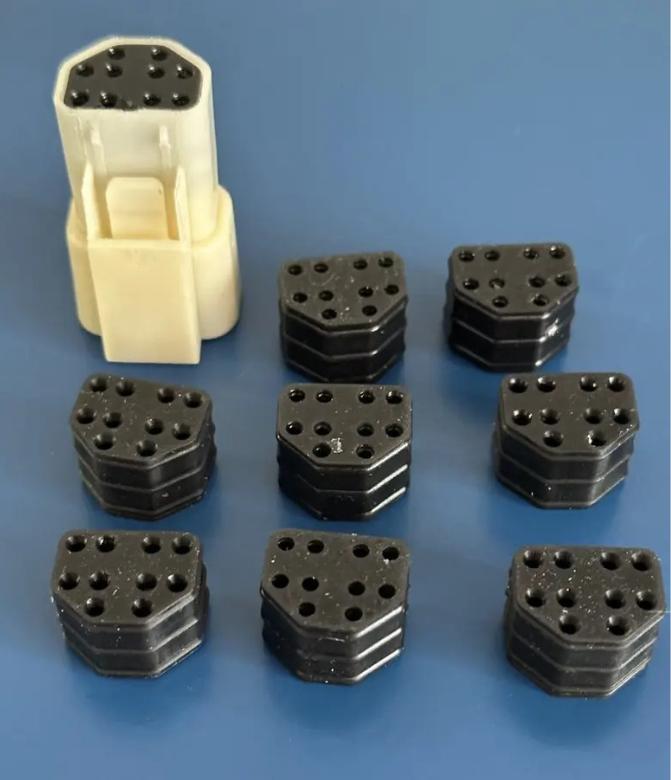
HGM Automotive connectors seals as printed. Photo courtesy of Formlabs.
Finis Inc
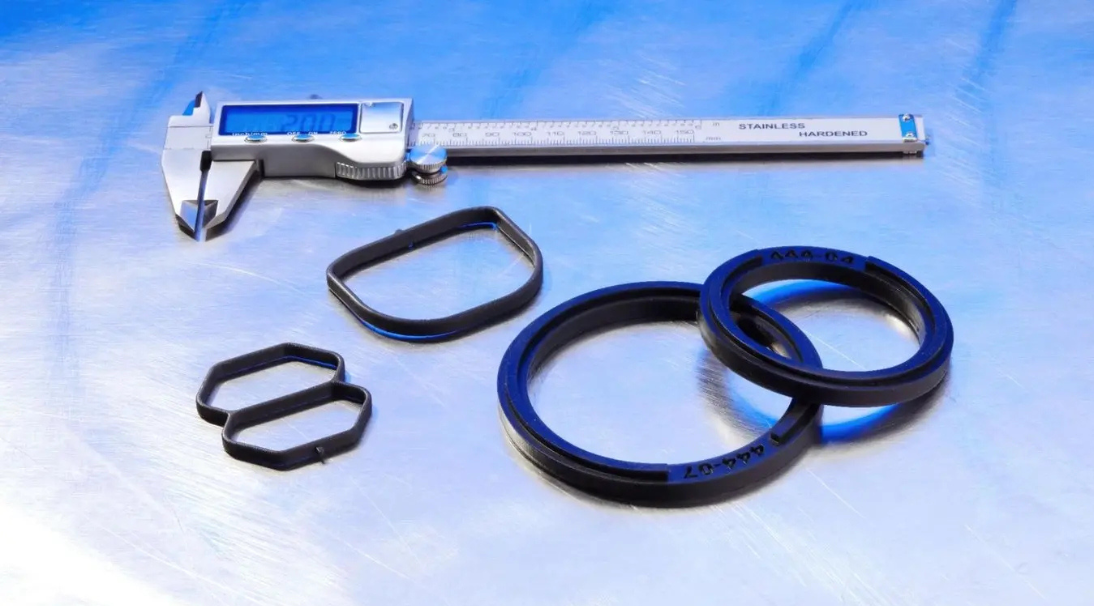
Finis Inc specialise in developing equipment for water sports. Traditionally Finis Inc used mould urethane casting to produce silicone parts on a 2–3 week lead time, at a cost of £900 per two gaskets. They now 3D print functional prototypes in just 8 hours at a cost of £7.50 each. This enables the design engineers to test products in the pool the very next day.
Finis Inc prototype gasket printed with Silicone 40A Resin used for internal testing
The Realities: Where Silicone Printing Falls Short
Silicone printing is powerful, but not universal. For silicone applications, there are a few practical limitations you should know about. These constraints don’t diminish silicone’s usefulness - they simply help engineers choose the right workflow.
1. Geometry Constraints
If your part is highly intricate, includes deep channels or undercuts, thin tubing or bellows, or relies on crisp edges, silicone printing may struggle.
There are specific design guidelines that you need to follow to get the most out of 3D printed silicone, for example
• 0.5 mm minimum supported wall thickness
• 0.7 mm minimum unsupported wall thickness
• 0.4 mm maximum unsupported overhang length
• 0.3 mm minimum hole diameter
In general guidance, we would recommend printing smaller components rather than a single large extrusion.
2. Cupping and Internal Pressures
Cupping (when liquid gets “caught” inside the print during the printing process) is a common potential problem with printing silicone and it can cause internal tearing, layer delamination, part blowouts and print failures.
If you have a hollow part, or a part with a geometry prone to cupping, vent holes are essential to reduce the risk of print failure.
3. Support Requirements
Silicone typically requires more support structures than other resins due to its soft properties. Adding more supports can reduce surface quality, limit freedom for complex or organic designs and make large EOAT geometries harder to produce cleanly.
Ideally, you want to be printing Silicone 40A parts directly onto the print bed as this provides a solid base from which the part can develop, but this will limit the complexity of the part you can produce.
Where possible design or orientate your parts so that overhanging features are nearer the build platform. Or design custom sacrificial support structures into the model to help reduce the need for support material.
4. UV Sensitivity
Silicone 40A is not recommended for applications exposed to long-term UV, ruling it out for outdoor or window-facing machinery.
Alternatives When Direct Silicone Printing Isn’t the Best Fit
For geometries that silicone printing can’t quite handle, Additive Manufacturing still plays a major role. Instead of printing the silicone part, you print the tooling. These workflows still deliver the speed and flexibility of AM, without relying on pure silicone printing for everything.
- Print a mould. Simple, reliable, and ideal when fine detail or surface finish matters. By 3D printing the mould, more complex designs and geometries can be achieved. Consider 3D printing a mould and using cold pour silicone, or silicone putty in a compression mould (clamping the mould together).
- Injection mould into a 3D printed tool.
Use SLA or SLS 3D printed tooling to create small-batch production-quality silicone components.
- Over-moulding onto hardware.
3D print a bespoke mould in which the original part fits exactly, before injecting liquid silicone. This is great for grips, sealed housings and strain reliefs. AM tooling allows easy alignment and repeatability.
- Eggshell moulding.
3D print a thin breakaway shell (<1mm), fill with silicone, cure, then crack the outer shell away. Ideal for parts with extreme undercuts or complex cavities.
Easy Wins: Where Silicone Printing Excels Today
From our experience in AM and working with multiple industries that have widely adopted this approach, we recommend three top applications that consistently deliver the best results for 3D printed silicone parts.
Why these applications? These parts are easy wins because they print reliably, require minimal support and are low cost.
1. Seals & Gaskets (bespoke, low-volume)
Perfect for:
• Machinery requiring non-standard diameters
• Fast turnaround maintenance
• Prototyping sealing solutions before committing to tooling
2. Connector Seals
Ideal in robotics, automotive and manufacturing electronics — where custom geometries and consistent compression fit are critical.
3. Dampeners & Soft Impact Features
Robotic EOAT, conveyors, pushers and sorting systems. Silicone prints handle repeated compression well.
Bespoke Silicone Suction Cup for EOAT
We printed a custom suction cup designed for light-load robotic pick-and-place.
• Material: Silicone 40A
• Material usage: 46 ml
• Cost: £13.30
• Print time: 4 h 57 min
• Wash: 20 min (80% IPA / 20% n-Butyl Acetate)
• Cure: 45 min at 60°C (submerged in water + Febreze)
Watch the video below to see the full process from printing to post-processing.
So… Is Silicone Printing Right for Your Workflow?
The best place to start is always with a conversation. Our Applications Engineers can review your part, understand the environment it needs to perform in, and advise whether direct silicone printing, printed tooling, or another AM workflow will give you the best outcome.
But in short, consider Silicone 40A printing when you need:
- Custom, soft-contact components
- Compliant geometries without tooling – low volume or one-offs
- Fast iteration for design development
- Functional prototypes that behave like cast silicone
And look at alternative workflows (such as printed moulds, eggshell moulds or printed tooling) if your application relies on:
- Ultra-fine details or crisp edges
- Complex undercuts or long internal channels
- Very thin membranes or tubing
- Large flat gaskets or long extrusions
- Parts exposed to long-term UV
- Suction cups or bellows under constant, long-term load
Used thoughtfully, silicone printing becomes a powerful addition to your toolkit - not a universal replacement for moulding, but a rapid, flexible, and cost-effective option for the right applications.
Ready to Explore Silicone for your Project?
Share your part or concept with our Applications Engineering Team and we’ll recommend the best approach - whether that’s direct silicone printing or a hybrid AM workflow.
👉 Request a
test print or
speak to our engineering team